In December, it’s tempting to begin every article with phrases like: “as the year comes to a close…” or “over the past year…”. But after some thought, it becomes clear that this outgoing year isn’t really to blame. Many of the things we’ll discuss today first appeared back in 2015, 2014, or even earlier this year. It’s just that their popularity peaked during this very year.
In web design, styles and trends evolve rapidly: something may appear in summer and already feel outdated by late autumn. Yet some visual effects remain in demand for years. If you browse web design award sites or creative portfolios and filter by 2017, you’ll find a huge number of graphic effects applied to photos and illustrations—regardless of the design style, color palette, or theme. We've already talked about some interesting photo effects in our blog throughout the year. But others are quite tricky to explain in detail—simply because they’re difficult to work with. That’s why many experts create ready-made Photoshop Actions that make it easier to experiment, customize, and transform images the way a designer needs.
Today, we’ve handpicked the best Photoshop Actions that gained popularity in 2017—and ones that will still be relevant even in 2018 and beyond.
Installing Actions
First of all, all Actions require the English version of Photoshop to work properly. So if you're using the Russian version, go to Edit → Preferences → Interface, and switch the UI Language to English. Then restart the application.

Second point – the Actions themselves. Most of them are paid. But as we all know, the internet is full of surprises, so free versions can often be found with a simple search. Just choose what works for you and go ahead. We won’t judge whether that’s good or bad—everyone decides for themselves whether to pay or search for free.
Next point – each Action comes as a folder containing various files. You’ll usually find a .ATN file (the action itself), .ABR brushes, and .PAT patterns. Before running the Action, install all of these files in Photoshop, then you can begin creating.
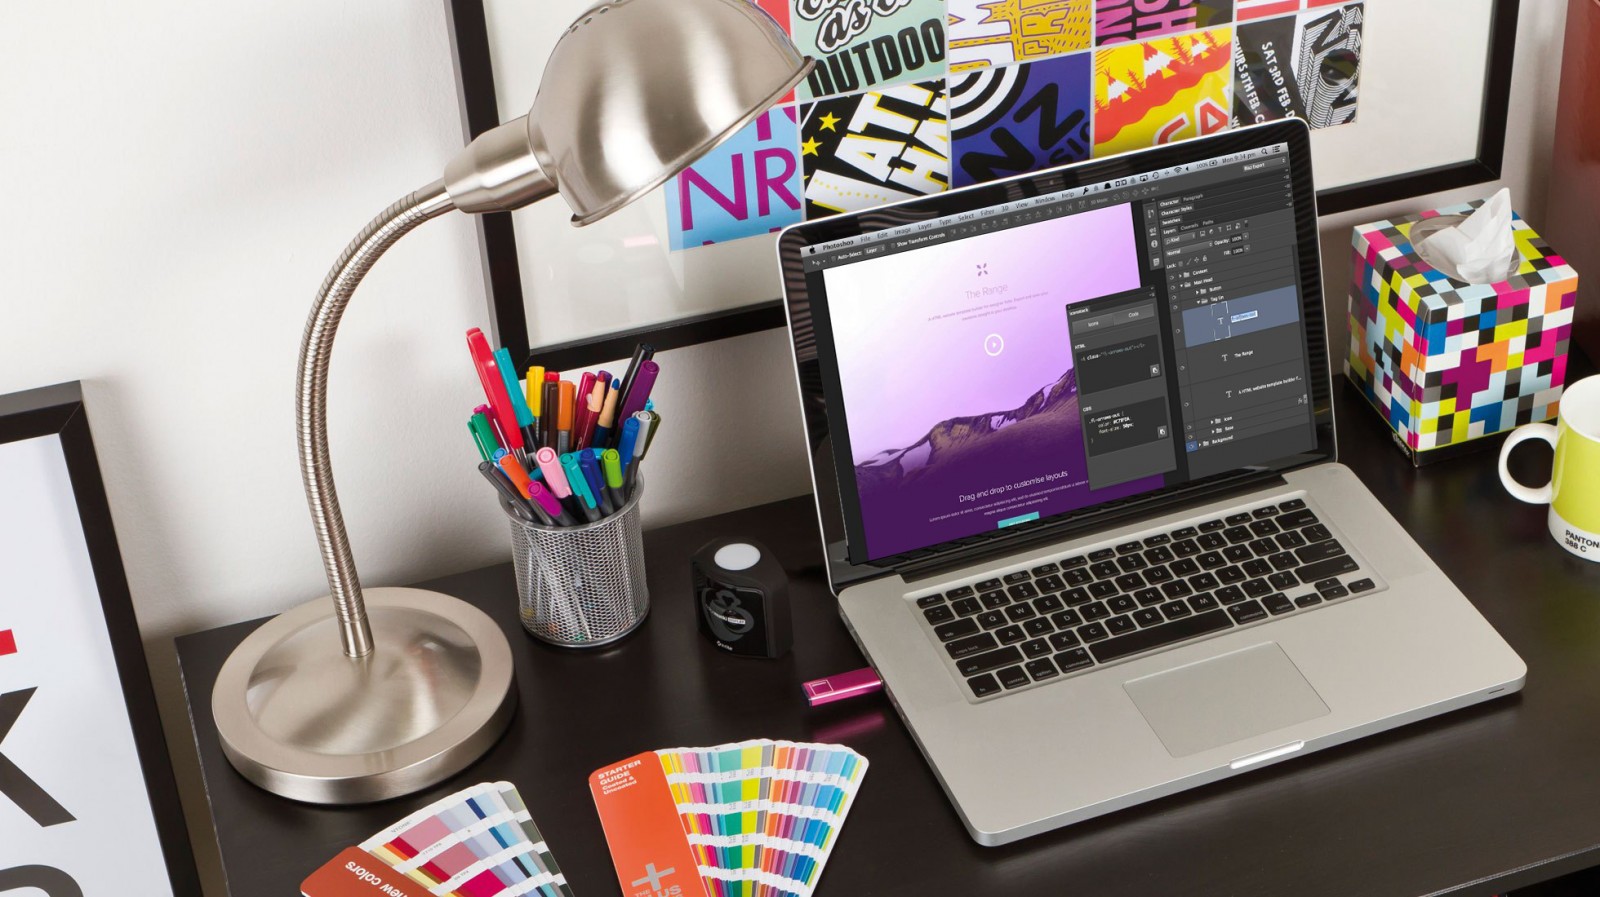
And of course, Actions can be applied not just to photos, but also to graphics, typography, logos, and much more.
Graphic River Dust


This was probably the most popular photo effect of the year—used across all types of marketing and design. It’s hard to find a creative niche where the Dust effect wasn’t applied. Its key advantage is how quick and simple it is, plus the ability to create a Double Exposure effect from the same Dust setup. Yes, two effects in one action.
We took a regular owl image, cut it onto a new layer, and filled it with red. Be sure to name the new layer “brush”. Open the Actions panel, load the files, and you’ll see two types: the first is a simplified version (single focal point), the second is more advanced and detailed. Which one to use? Try both!

Select the Background layer, choose the Dust Emitters action, and hit Play. Sooner or later, Photoshop will ask you to select the location for the first focus point (where the paint splashes and strokes will appear). Move the circle to your desired location and press Enter.

Now you’ll need to pick five color tones for the paint strokes. You can choose anything here—they can be adjusted later. If you already have a final vision, pick colors accordingly. As you pick each color, you’ll see where it will appear in the composition.


Then—wait, wait, wait—select the second focus point and choose another five colors. To finish, you’ll need to use the brush (automatically activated) to paint over the details of your object directly on the mask.

In the Layers panel, all the effect elements are grouped in folders. You can toggle visibility (eye icon) to see which folder controls what. We tweaked a few things—and here’s the result.

We added clouds over the strokes from the Dust Set 1 group. Select the color layer, go to File → Place Embedded, and choose a suitable image. It will be added as a smart object, so you can resize and adjust it. Use the Luminosity blend mode, or try other modes for different results. Then right-click and choose Create Clipping Mask.

If necessary, you can disable some of the Dust folders completely...
Likewise, you can add more elements like clouds or forest layers into Dust Sets 3 and 1. If any image edges are too sharp, simply add a layer mask and soften with a soft brush.

Double Exposure is also added within the Dust folder using the same method—place your image and turn it into a clipping mask.

You can further tweak curves, color tone, contrast, or adjust the Dust Particles folder by changing its color or brightness.
Important: Many of today’s Actions require you to isolate the subject from the background. So in some cases, when the effect is applied, you might see harsh edges around the object showing through the strokes and textures. To fix this, use a soft eraser or soft brush with opacity under 50% and gently soften the edges—either on the object layer or on the mask by painting with black.
Glitch x10
This Action lets you turn any photo into a futuristic “glitch” style image—similar to what you see when a TV or projector image distorts or breaks up. These effects have also found their way into web design.
We found a set of ten different glitch styles that don’t require brushes or masks. Just one thing: if you want the effect only on your object (not the background), you’ll need to isolate it onto a new layer and apply the action to that.
Glitch 9 Adrenaline

VHS Glitch

Glitch Style 7

Glitch Style 4

Glitch 8 Channels

This one’s especially interesting—you’ll manually adjust crystalization, blur, wave filters, displacement, brightness, saturation, and color levels. We used the default settings.
Graphic River Geometry and Low Poly Art


Another stunning visual effect. We’ve already discussed polygon-based inspiration in web design. Designers often apply polygon styles to photos. But manually creating those can take hours. This Action simplifies the process immensely—and each step of the effect can be tweaked individually.
We opened a fox image. Make sure the image is 2500–3000 px wide, and resize if needed. Select the fox, create a new layer, and fill the object with a color. Name the layer “brush”.

The Action comes with a brush and pattern file—install those first. Then select the “brush” layer and hit Play.
During the process, you’ll choose a crystallization size. Go for smaller sizes to preserve object detail. After the Action finishes, you can fine-tune the colors, gradients, lighting, lines, and dots. Nothing too complex, so we’ll move on.


The Action works best if your object is clearly defined. For example, if a fox hides its face, it may become unclear what the animal is—so you’ll need to manually enhance key features. Below are examples showing different detail levels.


Realistic Embroidery – Stitch Effect
Some may say embroidery effects aren’t used in web design—but when creating handmade-style projects or niche websites, small stitched details can be perfect. We’re not talking full canvases here—just ornamental elements and decorative patterns.

This Action lets you generate embroidery with just two clicks. It includes brushes, styles, and a PSD file.
Open the included PSD, replace the sample text or create a new element (like a pattern) on a clean layer.
Install the action, brushes, and styles. Choose one of six variants: thick stitches, fine silver or gold, etc. Once ready, double-click the Smart Object layer and edit your embroidery directly.


Save and return to the original document. You can now place your own background, adjust colors, brightness, levels, and customize the embroidery look however you want.

Graphic River Christmas 2
And finally—a themed Action. A festive, New Year style effect. These processed images work great for landing pages, promo banners, seasonal headers, or holiday-themed web design. All it takes is a few clicks.


We chose a red-haired dog photo and opened it in Photoshop. Image height must be 3000px—adjust via Image → Image Size. Install the action and brush.
Create a new layer, select the dog, fill it with red, and name the layer “area”.

Make the selection layer active, choose the Crop Tool, hold Alt, and expand the canvas. Select the brush and set both Opacity and Flow to 100%.


Run the Action. After a short wait, you can edit snowflakes and sparkles (Ctrl+T), adjust colors, or add background gradients—let your creativity shine!


Final Thoughts
All of these Photoshop Actions offer designers and artists a fast, intuitive way to add creative effects to their work. We’ve seen many of them featured on various websites and even in our blog throughout the year. Some Actions offer more control than others, but all deliver unique and striking visuals.
At first, it may seem like all it takes is tossing a few brushes around, drawing some stars or dust, and adding haze—but is it really that simple to imagine and execute? And do you really need to spend time creating everything from scratch when there are pre-made tools available? These Actions offer a perfect balance—letting you tweak layers, textures, and styles in just the right way. Few visitors will ever ask: “Wait, were these all made using the same base image?”
None of this is exactly new—but it’s clear these effects will continue being used by designers and illustrators in the coming year. So go ahead—create, experiment, and say hi to the red-haired dog! And yes, there are still a few more tricks to learn for Christmas and New Year (any kind of New Year, really)… But we’ll tell you about those another time.