The photo effect of double image or double exposure, popular over the past year and a half, looks quite simple and beautiful. Yet, it’s not so easy to learn, practice, or figure out how to best combine and blend different photographs. Truly impressive artistic works are created by masters who have spent years refining this skill. However, variations of double exposure can also be found in web design. Rarely, but they do appear.
Why variations? Double exposure—or multiple exposure, if more than two images are used—comes in many forms. Yes, it’s easy to create if the designer knows what should be blended, with what, and how. But how do you choose the right blending method, when there are... hundreds? Well, not hundreds—much fewer. Color options alone probably number in the hundreds. Actually, even more than that. But you, dear reader, already get the idea: there are tons of ways to approach double exposure. There are even animated, 3D, and text-based variants.
In this article, we’ll explore how to create a super-stylized double exposure in Photoshop using pre-made Actions. They drastically reduce the time needed and offer a variety of effects so the designer (in this case, any of us) can quickly view and test options for a project. We briefly touched on this topic at the end of last year , but focused on something different. We'll also cover a few special tips for working with multiple exposure effects.
The Meaning Behind Double Exposure
When designers create a photo effect for web design, advertising, posters, or social media groups, they usually try to not only pick two images that match the theme but also ones that are visually compatible—or at least not in conflict with one another. Furthermore, each image should conceptually complement the other. That way, users can appreciate the beauty of the effect and understand why this particular visual was used at all.
If you take a closer look at movie posters or album covers, you’ll often notice how the effect conveys the essence of the work and draws attention to characters and their actions.


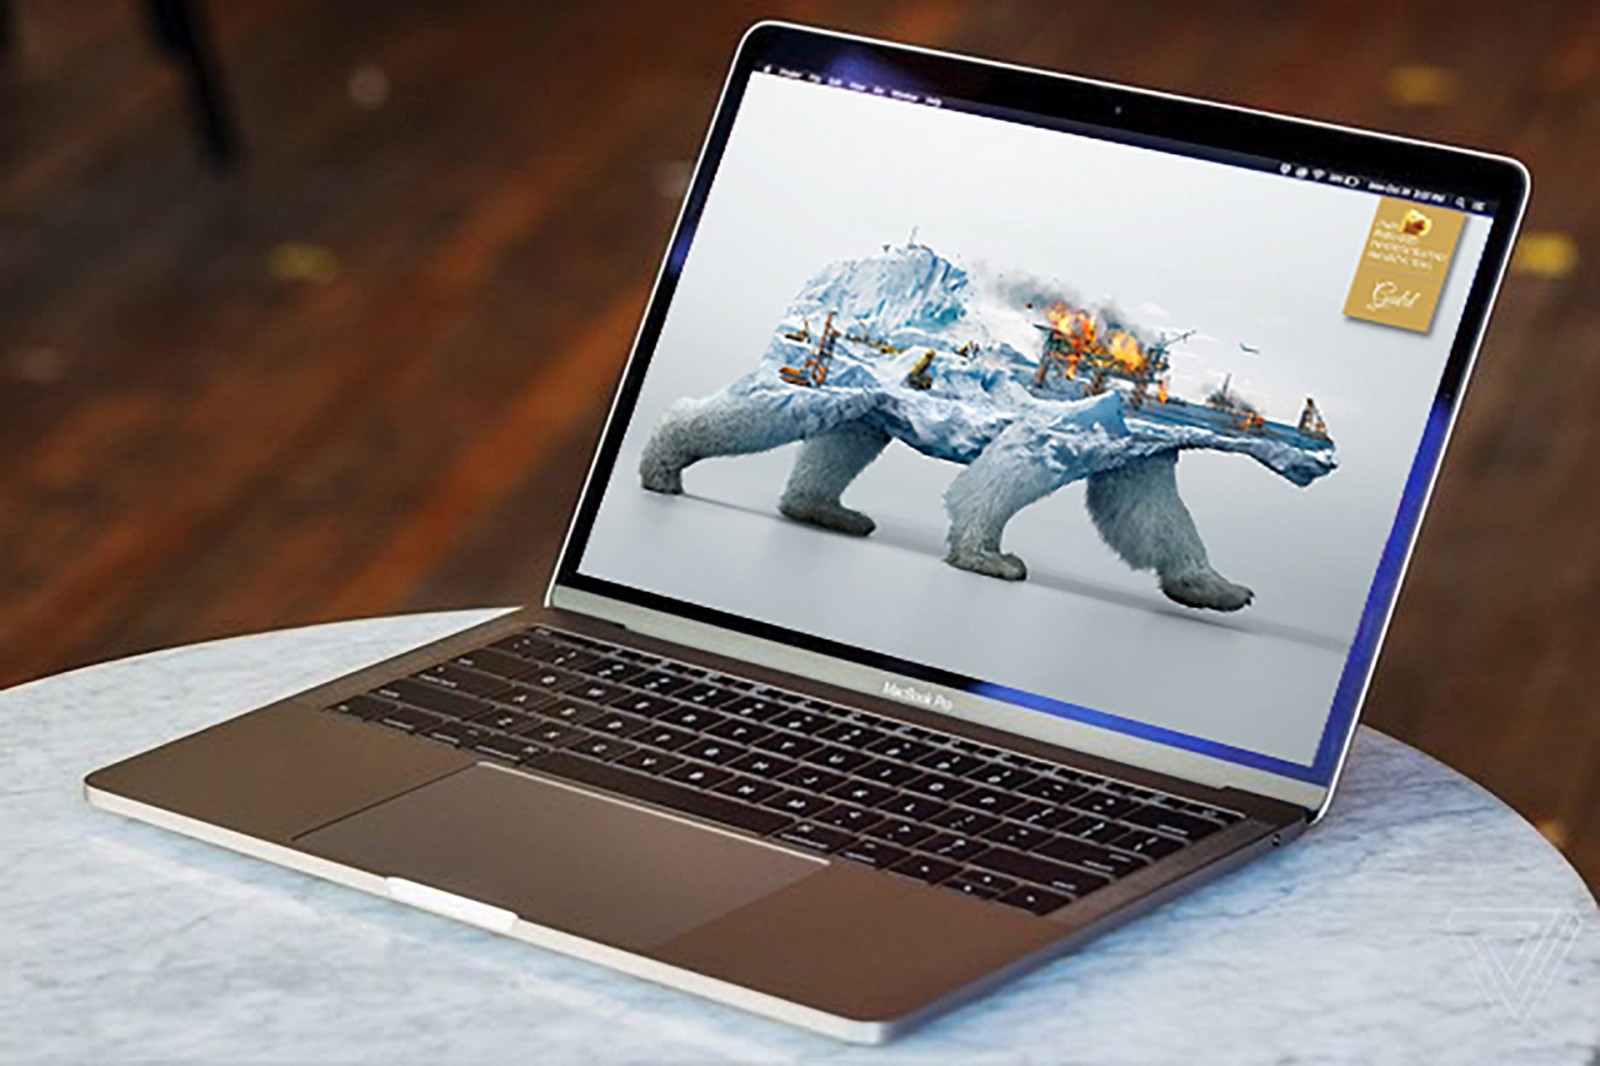
When studying the works of famous photographers, one must first highlight the stunning collection by Surachai Puthikulangkura , titled “Destruction of Nature – Destruction of Life” from 2016. Each of his creations not only shows an animal’s image but also the way it is affected or destroyed when humans damage the environment.

Equally impressive artistic works are created by Alon Avissar , exploring themes of the seasons and their harmony with female beauty. Notably, the women’s silhouettes aren’t completely filled with the overlaying images, which adds charm and sophistication.

We also recommend checking out the stunning creations by Antonio Mora, Francesco Paleari, and Aneta Ivanova.
In terms of web design, some notable projects worth checking out include: qedgroup, ifly50, bucketlistly, nativeplanet, pavilionpromotional, and nurturedigital. These designs are positioned very differently than traditional graphics and are perceived in a completely different way by users and clients alike. At the very least because they are harder to create, both technically and artistically.


Creating a Double Exposure
Initially, photographers used their cameras to create multiple exposure effects by combining a silhouette photo with a fill photo. But designers, using Photoshop, have taken the effect to a new level, showing that digital versions offer far more creative freedom and control. Essentially, you no longer need professional skills to cut out an object and fill it with an image instead of a color. However, figuring out how to do it beautifully, how to decorate it, and what extras to add—that’s the tricky part for many.
So let’s look not just at any double exposure Photoshop actions, but specifically at those that create stunning and artistic results.
All actions can be found online or via an Envato Elements subscription. The choice is yours. You can find installation instructions for actions via the first link in this article.
Important: in most cases, images can be different sizes, but for best results, use a width of 3000 pixels.
Also, make sure the Brush settings for Hardness and Opacity are always set to 100%.
In the Layers panel settings, make sure the checkbox “add ‘copy’ to copied layers and Groups” is enabled.
Photoshop version must be in English.

Advanced Double Exposure
This action automatically creates the simplest version of the effect. Open your two images, name the main object’s layer “front” and the fill image’s layer “back.” Keep a clean white Background layer. Then go to the wolf layer and select the animal. Copy the selection to a new layer (Ctrl+J) and fill it with any color (we used red). Name the layer “mask.”

Run the action. At some point, the Color Range window will appear for the “back” layer. Here you can choose which parts of the fill image to make transparent. If you don’t want to make anything transparent, leave everything as is and click OK. You can later change or delete any settings.


Step 1 is done. Now you can make some initial adjustments. For example, refine the wolf’s details on the “Base Front Manual Mask” layer or tweak the background on “Back Main.” You can also turn off adjustment layers. In our case, we lowered the opacity of the “Base Front Lighten” layer to blend the wolf image more smoothly with the forest photo.

Now press Step 2. This adds various color variations to the effect, which you can enable/disable, adjust, and so on. There’s no limit to creativity here, so we’ll just show a few examples of settings and results.


This action is very convenient because it offers easy customization without designers having to manually deal with layer blending.
Animated Double Exposure Action
This Action allows you to create stunning animated double exposures. Instead of two images, you’ll use one image and one video (which is auto-generated). The final result can be saved as a video or GIF. You don’t even need your own video clips—there are ready-to-use video frames included. Photoshop automatically assembles the animation if the folder contains files with numbered filenames.

Once again, open the wolf image and… that’s it. Just launch the action. At one point, a window will prompt you to choose a video. We opened folder “7” and selected the first file.

Then activate the Timeline panel in the Window menu and click Play. You’ll see the animation begin behind the wolf. Naturally, you can tweak this action just like the others. You can paint over mask layers, turn off effects, etc.

Once you’re happy with the result, click to continue the action and apply color variations. Just like the previous action, everything can be adjusted or deleted.


Maybe we didn’t pick the best video here, but there are plenty of others to try…
Double Exposure Glow
Another very stylish double exposure variant. It adds a subtle glow to the basic effect. There are no real settings or variations in this action, so all further changes are made afterward.
Open the wolf image and make it the background. Place the fill image above it and name that layer “image.” Then run the action.


At some point, you’ll be prompted to choose a glow color. You can just click continue, or stop and select a color before proceeding. Either way, it can all be changed later.


Color variations and adjustment layers are added automatically, so you just need to fine-tune them, add layer masks if needed, and hide some fur or background areas (as we did).


Either way, the glow concept is beautifully implemented and adds a subtle spice to the whole composition.
Newspaper Art
A unique double exposure effect where images blend with a text layer—newspapers, magazines, or other typography. We’ve previously explained how to create this effect manually, but this action automates the process.
The set includes textures, brushes, and the action itself. Open the wolf image again and run Step 1. It will create a new layer where you’ll need to paint the subject. In other words, on the “brush” layer, create a mask for the object. Go to the background layer, make a selection, choose a red brush, activate the “brush” layer, and paint inside the selection. Deselect, and the mask is ready.

Click Step 2 and wait for it to finish. Again, you can adjust, refine, reduce opacity, add color or go black-and-white—whatever you like.


The result is a beautiful text effect, as if the subject was made from words, paragraphs, and newspaper scraps. The clarity of the final image depends on how well-defined the subject is and on the brush size. There’s no such thing as “just press and it’s done.” You always need to tweak things, use “Free Transform” on layers, maybe even rotate some textures.
Smoky Double Exposure
Another fun variant where images are combined with textures, blotches, or other graphic elements. Not quite street art, but similar. Using this action takes a bit more effort, but the result is worth it.
The pack includes many backgrounds and textures, so choose one you like, open it, and rename the layer to “BG.” Then cut out the wolf and paste it onto Layer 1.


Run the action and wait for it to complete. The effect is basically ready. Later, you can add blotches, dust, and other elements, and play with color. To tweak colors, double-click the layer group and open the Layer Style window. There, uncheck the RGB channels. You can even move the converted wolf into the included “empty examples” document and decorate it there.


Yes, this Action and its double exposure variant aren’t as simple as the earlier ones, but they’re still popular among artists and designers.
Conclusion
Of course, there are many other double exposure actions for Photoshop online. Some are paid, some free, and others you can dig up from file-sharing sites. Either way, we’ve picked the most interesting and visually impressive ones—those that add extra effects, glow, even animation. They’re easy to use and definitely eye-catching for viewers.
Whether or not to use these effects in every web design project is up to the designer. But one thing’s certain—websites featuring such photo styles look way more engaging than plain graphic ones. Especially since double exposure is still gaining popularity this year.
In any case, if you’re a fan of artistic photo effects and want to design more visually striking websites, these actions will definitely come in handy.