Moving images, “living” photography or cinemagraphy, light animation – this beautiful effect goes by many names, but the principle remains the same: a moving element on a static background. In web design, this trend is often used, and sometimes it's hard to tell at first glance whether it’s a video or a cinemagraph. The reason lies in the quality of the footage and the storyline.
At the same time, a cinemagraph is neither a typical video nor a photograph as we’re used to seeing, creating, or editing them, since the animation in this case is barely noticeable but has a strong psychological impact . The “living” photo effect is often described as magical by web designers and others, as it’s a great way to attract attention to visuals. And while these animated images are used in web design, they are also frequently seen on social media.
We will focus on how “living” photos are used in web design and how to create them in Photoshop – even if you don’t have the right photos, a photo series, or skills in video editors. Creating such magic in Photoshop is absolutely possible.
The Evolution of Cinemagraphy
It’s hard to say exactly when “living” photos first appeared online, but it’s well known that Apple made them popular with the release of the iPhone 6S. However, a cinemagraph is a bit more extended and richer than, say, an image of a starry sky. Later, animated pictures began appearing in billboard ads, depicting characters that blink or wink.
Naturally, web design didn’t lag behind, since this animation technique helps retain users’ attention and makes a website more engaging. According to Flixel (on their blog), a user stays on a page with a “living” photo 6–8 seconds longer than with a static image.
Cinemagraphy on the Web
Whether a designer uses an illustration or a photograph – both can be animated. There are many ways to bring them to life and even make them feel like full-fledged video.
However, full video impacts page loading speed, making it slower. That’s why “living” photos are more convenient. Often, cinemagraphs are so subtle that you have to look closely to notice the movement. As a result, people genuinely enjoy them, and such elements draw more attention to the project.
The Hillmann Living project uses animation only during page loading. Afterward, users see a regular photo of a hall with chairs. This approach helps showcase the company’s products and spark interest in specific models.

Cinemagraphy is used differently on sites like the Lost Thing , the Deep End Design and Studio Marani . There, you’ll see only partial animations: steam above a coffee cup, smoke from chimneys, swinging legs, or hair blowing in the wind. It’s beautiful, subtle, and captivating.


The web designers of water.nature used “living” photos across the entire project, showcasing animation of clouds, ocean surface, rain, and falling drops on plant leaves.

There are many more examples, but in our humble opinion, these are the most beautiful and illustrative. We’ve also touched on the topic of cinemagraphy in a previous article , which includes more examples.
Features of Cinemagraphy
When it comes to this trend, simplicity is key. Avoid typical GIF images overloaded with sparkles, stars, and flashing effects – that’s annoying and inappropriate for web design. Animation should be unexpected but natural within the context. That’s why using a ready video is often better than a photo series.
Additionally, it is recommended to:
Creating “Living” Photos
There are many ways to create cinemagraphs: short edited videos in Adobe Premiere, GIF or MP4 files, online tools, outsourcing to professional studios, using publicly available animations like on cinemagraphs.com or annstreetstudio , or mobile apps for Android/iOS/WP. These methods vary in complexity and detail.

But let’s look at Photoshop…
Surprisingly, it is possible to create a cinemagraph in Photoshop. Usually, you use a photo series, apply a layer mask, and arrange layers on the Animation timeline to produce a 2–3 second movement.
What if you don’t have a photo series?
You can use a ready video. For example, take a photo of a city and animate road traffic – just match roads and scale. Another option is to find a suitable video and edit it. It’s time-consuming but beautiful. Just make sure the video is stable and the camera doesn’t shake.
We’ll use a video from videezy . You can extract a needed moment and work only with that. Open Photoshop and go to File → Import → Video Frames to Layers . Choose your video and define the range or use the entire footage. First, preview the video to select the frame for your static background.

Important: The longer the video, the more layers you’ll get – which increases rendering time and resource usage. If Photoshop shows a memory error during export, save as PSD, restart the app, and continue later.
We extracted a short video and ended up with 262 layers (later trimmed to 83). The masking method stays the same, but the approach to source material is usually easier.

Keep Layer 1, group Layers 2–262 (CTRL+G), hide them, and apply a mask. Go to Layers → Layer Mask → Hide All . The group now has a mask.

Now comes the detailed part – select the area to animate. Use the magnetic lasso to carefully outline a road segment.
Important: Animated edges shouldn’t change color over time; otherwise, they will look bad. If animating sky, outline antennas, vents, etc., with precision.
Then use a white brush to paint over the selection – it will show up on the layer mask thumbnail.

Open Window → Timeline to see all 262 frames in sequence on a transparent background, showing only the masked area.

To restore the full frame, go to Layers, select Layer 1, and click “Unify Layer Visibility” . Now all frames look normal.

Click Play on the animation timeline to preview the result. The “living” photo is ready. Optionally, refine the mask edge, feather it, or add adjustment layers for color and resolution tweaks. Time to create your visual story.

To reverse the animation, copy and reorder the frames. This creates a looped effect. We applied a duplex.

To save as GIF, use File → Export → Save for Web . Adjust quality and size settings. Alternatively, Export as Video (e.g., MP4) using presets, codecs, and frame rate.


Format and Secrets of Cinemagraphs for Web Design
The number of colors and animation frames affects the file size. Cinemagraphs are meant to be short animations, either looped or played once, so keeping the file size small is reasonable.
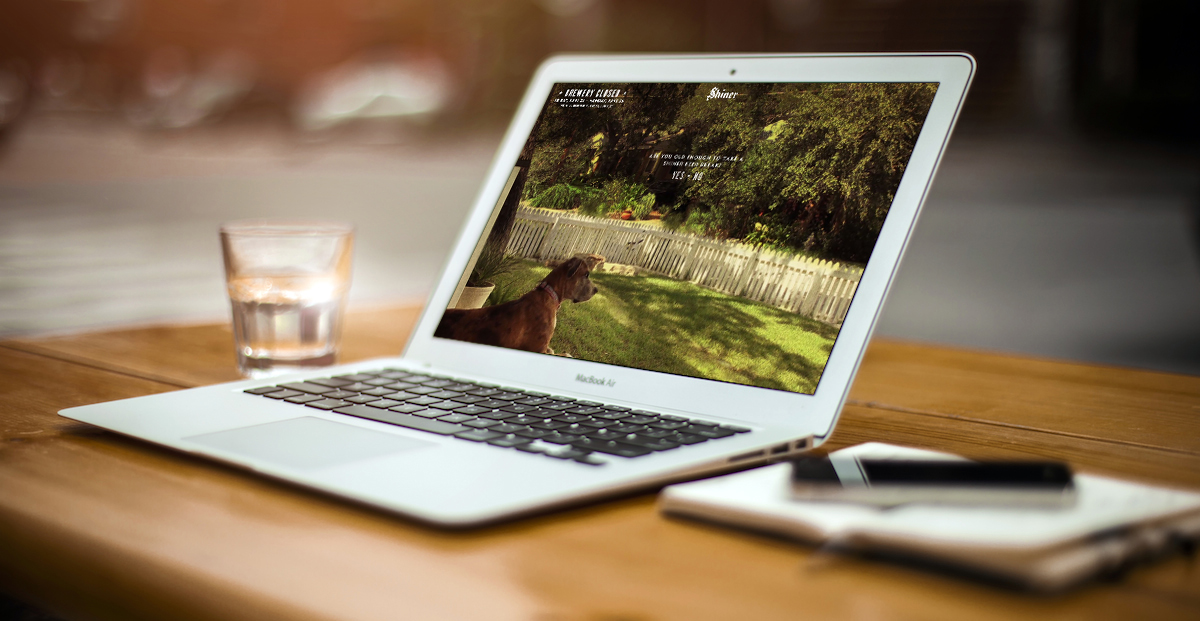
Note: The animation can be very short but play quickly. The human eye perceives it as a whole. The The Deep End project illustrates this – only a couple of steam effects are animated, but the seamlessness and smoothness make us think the coffee is piping hot. Or the dog animation on Shiner .

Creating a cinemagraph isn’t that difficult – the key is finding the right source material. You can even draw steam or smoke by hand and animate it with timeline frames.
Conclusion
No matter how a designer defines a “living” photo, this is a trend that appears often in different forms across the web. It’s a way to add animation to a website without the cost of full video production.
The trick is to make the cinemagraph look realistic. Adding animation to a random photo under a logo might look silly. Look closely at the project examples above. Each animation makes sense and matches the site’s theme. It either drives action, draws attention to a detail, or subtly fades away. Light, mysterious, unobtrusive, magical – that’s the key to an emotional connection in web design and cinemagraphs.