The magical, mysterious effect of a toy-like world—also known as the miniature or Tilt-shift effect—can transform a website design and impress visitors with its uniqueness. Despite many modern trends, applying effects to photos is still relevant and often essential. How often do you have to fix overexposure, adjust tones, and more? In other words, if photography is to be used in web design, photo editing must be expected.
At the same time, the Tilt-shift effect is more common in photo design than web design. Why? On one hand, it’s due to the complexity of creation; on the other, due to the project theme. A miniature of a city, street, castle, field, forest, or food on a table is one thing. But when it comes to tourism, real estate, or restaurant websites—which often contain numerous photos that are regularly updated—creating the effect for each image can be exhausting and, as not always necessary for the client.
Nonetheless, web designers do create sites with miniature-style photos, and they look amazing.
Features of the Tilt-shift Effect
The tilt and shift effect continues to grow in popularity. To recap, the miniature effect is a way of manipulating focus: the main object or group is sharply focused, while the background is blurred. The blur is gradient-based, not uniform. This simulates a camera lens effect. The uniqueness lies in how the result appears—objects look tiny, and the background seems vast. Hence the perception of a “miniature” or toy-like world.
Look at the photo below. What do you see? A model village? Perhaps. A medieval European-style town. But in fact, this is Campos do Jordão in Brazil—a tourist city in the southeast of the country.

Those familiar with the BBC series Sherlock may remember the opening sequence, which also uses this effect combined with cinemagraphy.

In fact, you can also spot this effect in several video scenes from the show. Tilt-shift isn’t just for photos—it works for video too. Take, for example, these miniature-style videos of New York and Montenegro. Imagine such clips on a website. Would it affect user experience? We doubt it—visitors would likely be intrigued.
Working with the Effect
To dive into the science (which is essential for quality results), the effect is based on the Scheimpflug principle and infinite depth of field. In simple terms, it’s about adjusting the plane of focus so that the object appears sharp and visually looks like it's in profile. You can't photograph something in profile unless it's physically positioned that way, but you can manipulate the lens and focus instead.
There are several ways to create the effect.
We’ll explore all of them, but first, let’s look at websites where designers chose to display miniature-style photos. Often, it’s difficult to tell whether an image uses the effect because the focus can vary—radial or linear, sharp or soft. Sometimes, the image is simply taken with a pseudo-effect built in.
In short, there are many variations—just like with parallax applications.
Prospega offers marketing and analytics services, but their website is unusual. Each section features its own photo, and each image uses the miniature effect. The entire site is styled in Tilt-shift. It’s beautiful, vivid, and unique.

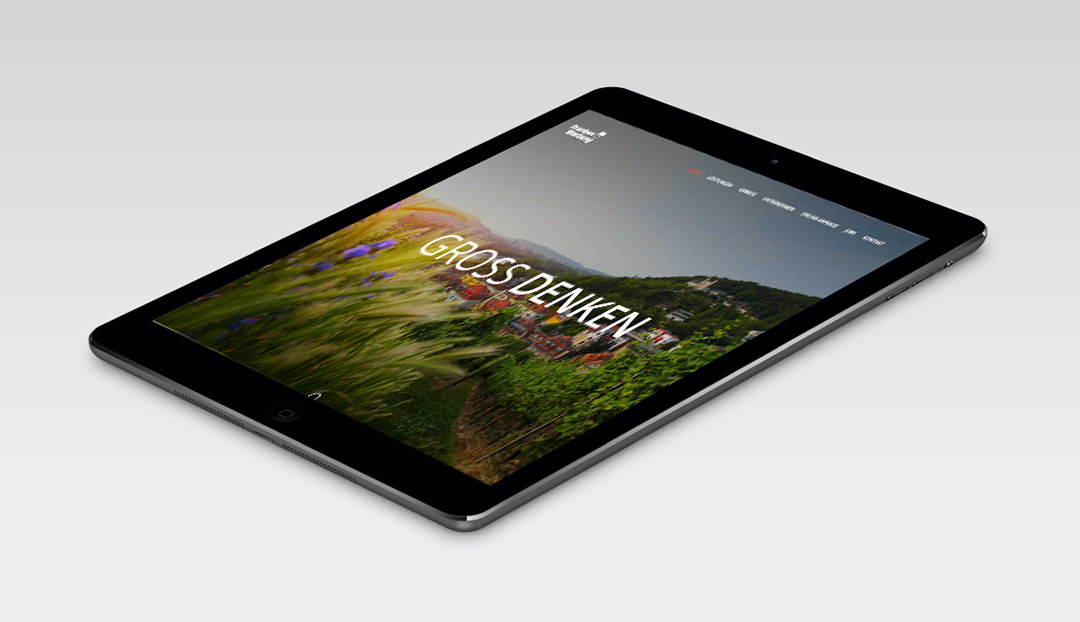
Frankenwerbung also used the effect—sparingly and subtly. The background is blurred, but the objects aren’t particularly sharp either. Regardless, it qualifies as tilt-shift.

The Open similarly used camera-shot images with a faint tilt-shift effect. Yet the sense of miniature scale is still present and noticeable.

Grad showcases its residential complex using the miniature effect. The result is original, unique, and beautiful. Notably, the miniaturization includes several large objects—making it a more complex task.

Rdcm added a miniature-style image to their Services section, featuring one prominent building in sharp focus against a blurred background and foreground. It’s not a pure tilt-shift effect, but rather a variation—still fresh and convincing.

The children’s educational portal Youngminds also used the tilt-shift effect. At first glance, you might think, “It’s just toys,” but notice the focus and overall perception. Given the theme of the site, using an effect that makes small toys appear large against a blurry background is more than justified.

Also take a look at the photos on tenontours, pullmanhotelsfrance, magellanresorts, toscanaovunquebella.
We've also curated a selection of photos created by professional and amateur photographers alike: Vincent Laforet, Lachlan Sear, Automatt, timmythesuk, roevin, patrix.


Creating the Miniature Effect
As mentioned earlier, there are different ways to create the effect. Mobile apps or built-in camera blur modes are useful but often not enough.
In practice, it’s hard to find a scene that convincingly suits the miniature style. It’s also difficult to define precise blur boundaries. Can you accurately select an object using your finger on a smartphone screen? Probably not. That’s why linear blur is often used, though it has its flaws. Below is an example of linear blur—but no real miniature effect.

You need to move the blur boundary a bit higher (just above the clock).

Still, this doesn’t quite create the illusion of a toy train station. With cropping, the effect changes. In this case, mobile editing is acceptable.

You can also try online tools like Tilt Shift Maker. It offers multiple settings, including preview and export. However, it only allows blur zone adjustment—not manual object selection.

What About Photoshop?
Photoshop CS/CC allows you to create the tilt-shift effect quickly and accurately. It’s already built into the app. We'll go through two different examples of how to achieve miniaturization.
Method 1 – Aerial View
The best photos for this method are taken from a high vantage point. The greater the angle between you and the ground, the better. A lower angle is okay but the effect won’t be as strong. And of course, daytime is ideal, when small details are clearly visible. So when selecting photos for a website, keep this in mind.
Open your photo and go to Filter → Blur Gallery → Tilt-Shift. You’ll see various settings. The miniature effect will appear by default in the center, but you can adjust sharpness areas, blur strength, and gradient transition zones.

The center circle represents sharpness. To focus a specific object, move the circle over it. You can also set additional focus points by clicking with the mouse.

Don’t forget to adjust the transition width (solid line) and full blur area (dashed line).
You can also apply a Vibrance or Saturation adjustment layer to enhance the colors. This correction can drastically change the mood of the photo.

Important: This filter is ideal for panoramic effects—like highlighting rooftops, streets, or forest-background scenes. For single-object miniatures, the Iris Blur tool is more suitable.
Method 2 – Spot Miniaturization
Open the photo or create a duplicate layer and apply a layer mask. Make sure the default black/white gradient is selected and apply it to the mask.

Activate the photo layer, then go to Filter → Blur → Lens Blur and choose Layer Mask as the source.

Adjust Focal Distance and Iris Radius as needed. Click OK. You’ll notice partial blur on the church building; the top part may stay sharp.

Select the layer mask and use a soft white brush to adjust blur. Then switch to black to restore focus on the building details—like the roof, cross, and walls. We also sharpened a small house and some trees on the right while leaving the foreground ruins and bushes blurred.

For extra blur, use the Blur Tool directly on the mask. Remember: the blur shouldn't be uniform.
Add a Hue/Saturation adjustment layer to the original photo for more vibrance. The church and nearby buildings will become more colorful. If artifacts appear, mask them using a black brush on the layer mask.

Then add Filter → Sharpen → Unsharp Mask to the original layer. Adjust the effect strength; keep the radius near 1 pixel. You’ll see improved clarity and contrast.

And here’s the result:

Important: Carefully refine the edges of the object using a small brush. Also, use high-resolution, high-quality images for best results.
Other options include using Iris Blur or Field Blur, but if you want a true miniature effect, you’ll still need to fine-tune masks, saturation, and sharpness.


Conclusion
The Tilt-shift effect is neither complex nor secret. Yes, creating a genuine photographic effect can be expensive, and Photoshop requires skills and vision. But it’s an excellent creative tool for designers. A way to craft websites with truly beautiful images. And you don’t have to miniaturize only photos!
The tilt-shift effect is as unique and unusual as neon colors, parallax, or cinemagraphy in web design. It’s a creative journey that takes time to master. And there are many ways to apply it.