When you think of space, one of the first associations that comes to mind is “outer space.” In 1957, the Soviet Union launched the first artificial satellite into orbit. This was a landmark historical event for the entire world—without exaggeration—not just our country. Now, many years later, let’s take a look at how space themes are used in web design and how you can quickly create something fantastic in Photoshop.
The trick to designing “space-themed design” (as we’ll call it moving forward) is to avoid common clichés and pitfalls. However, the general dark background and presence of star clusters can vary from project to project. Let’s first look at some examples of space design and gather tips on when this theme might work well for visitors, conversions, and marketing.
Space Ideals
Space is quite a trendy design element, especially after Disney started reviving the Star Wars franchise, and new Star Trek installments continue to be released with impressive regularity. Space is often in the news—especially after the discovery of a new planet (the ninth). In addition, many other projects, whether it’s a design studio website or a business company, incorporate individual elements of space themes to some degree.


Such designs feature dark color schemes combined with pure white and bright saturated typography. Content fits particularly well into the overall structure if it’s thematically related to space. If the website's subject isn’t about space, it’s better to avoid explicit space-themed visuals. Instead, selectively using individual elements often works best.
Starry Skies
You don’t need to meticulously create constellations. In web design, it’s much easier to use outlines and general constellation-style patterns. Create a grid using dots and connecting lines—this way, the eye is drawn to the visual resemblance. For example, the British Museum website uses this concept quite effectively. At first glance, you might think the bright colors and lines point to a space theme, but in fact, it’s a timeline.

Animation
To make dark backgrounds more engaging, adding a bit of animation can be a good idea. It will draw visitors in and spark interest. You can create animation on a separate layer or as a parallax effect with subtle use of themed colors. Typically, designs are built with a dark background using dark blues, purples, and blacks. White is then used for text or buttons to create contrast and draw attention.

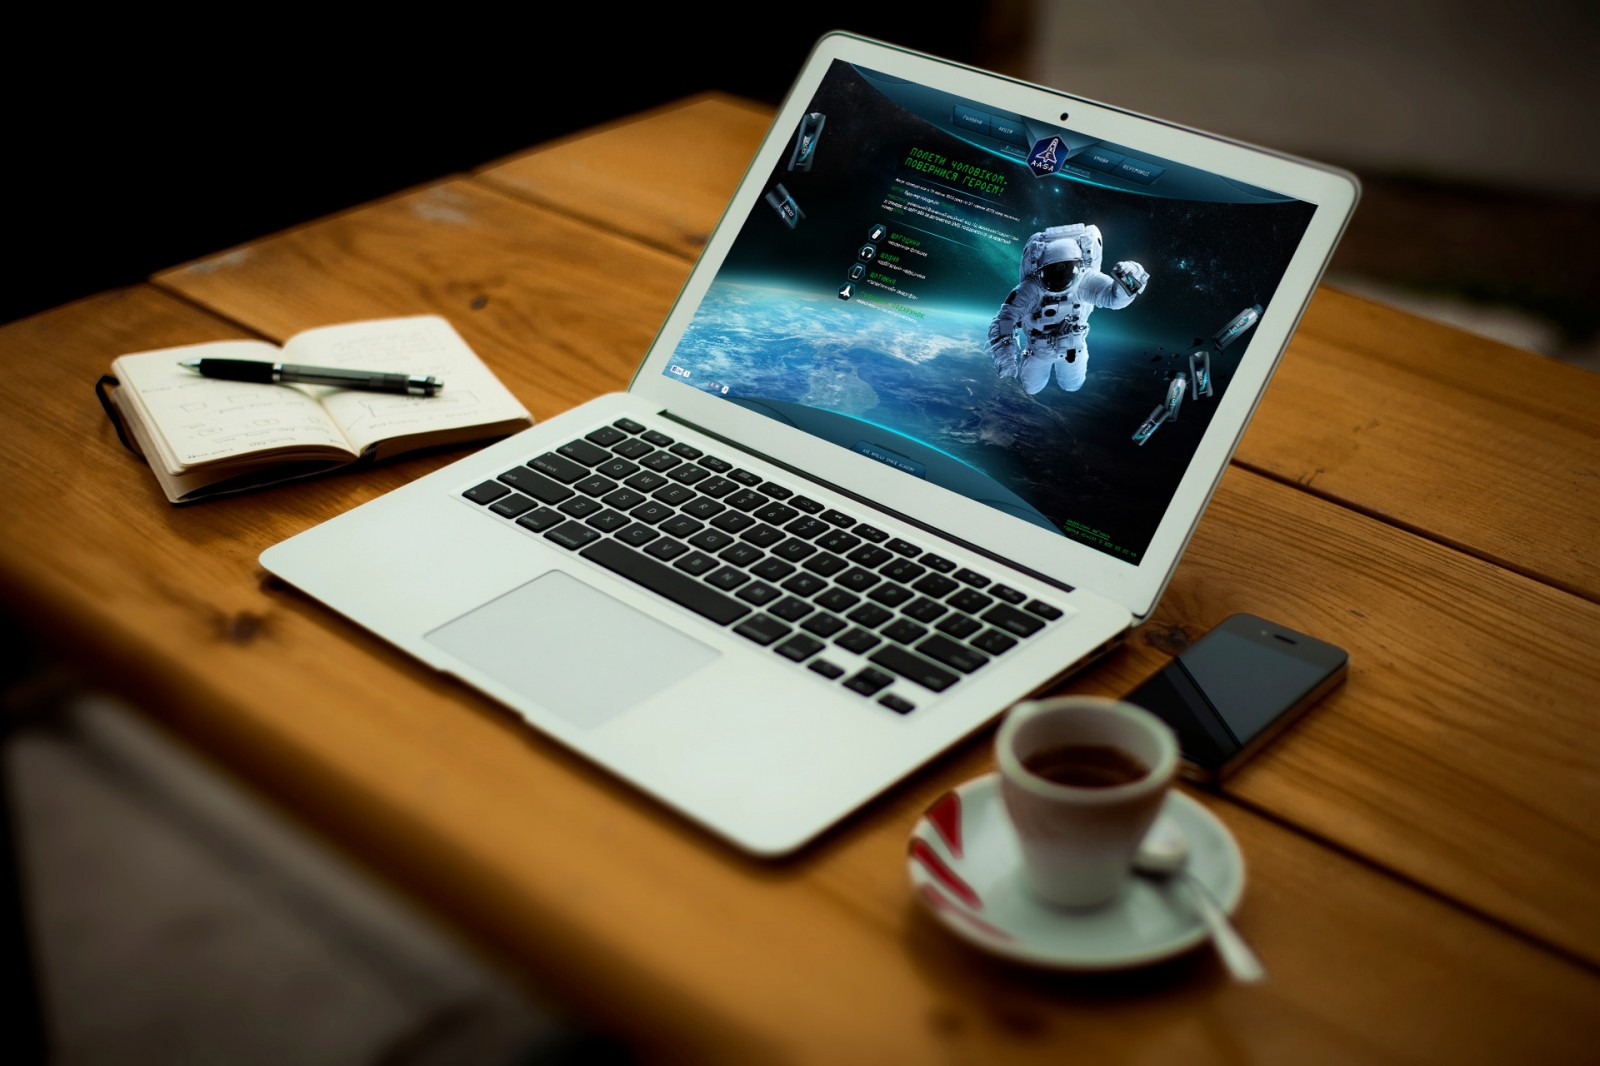
The projects cryptarismission and inspacewetrust showcase two completely different approaches to using animation in a space-themed design. One of them is an animated cartoon-style game with large elements and photos of space. The main character is wearing a spacesuit and helmet, looking up at a satellite.

The other project looks more modest but includes a dark theme with a light space accent. Additionally, the fast movement draws the viewer’s gaze into a structure that symbolizes faster-than-light travel.

Although these two projects are quite different, they both effectively use the space theme. This proves that the concept of space is universal and adaptable to various goals and purposes.
Subconscious
Using a space concept in design can also create a subconscious perception of the theme. There are many photos, objects, and shapes that aren’t directly related to space but still evoke thoughts of it. This effect is achieved through color, shape, and the starry sky. Look at your favorite space photos, and a clear visual model of theme presentation will emerge.
The main image of the Acerbis project resembles the styling of a Star Trek enterprise. As if from an opening scene of a hangar, the image gives us an idea of what awaits on the site. Similar visuals are used on other pages of the site.

But this is more of a reference to space than an obvious use of the theme. For this approach, using just a few small images or stylized icons is enough. It’s worth noting that the design feels fresh, interesting, and modern. This is one of the strongest aesthetic qualities of space-themed design.
Among the Cosmetic Depths
After exploring multiple ways to apply a space theme, there’s an obvious option: just dive fully into the theme and use it as-is. Start playing with dark backgrounds, stars, planets, glows, flares, 3D landscapes, and unimaginable depth.
The key to a strong design is complete harmony between visual execution, content, and typography. Can you achieve this harmony? Start with associative words—any one of them might resonate with your project. Here’s a small sample: orbit, galaxy, colonies, media, transfer, sun, technology, planets, infinity, unknown, relativity, vastness, exploration, agencies, universe, station, solar, linear, and more.

Space themes can genuinely work across several very different types of projects—ones you might not have even considered. The next two examples are quite different—a consulting firm and an advertising agency.
One uses a dark background and starry sky only on the homepage, but as you scroll, you see lots of people and details about their work. The other project is fully based on space design, with a stylized background present on every page. Both designs work and are visually engaging, though they leave very different impressions.


Space in Photoshop
When working with space-themed design, it's not always appropriate to use actual photos of space, constellations, or nebulas. Often, web designers just need to create a stylized space-like look. Sure, you can find images or artwork online, but you can also draw it yourself in just 20–30 minutes.
There are many ways to create a starry sky in Photoshop, but we’ll walk you through the simplest and most visual method. Open a new document and go to Filter → Noise → Add Noise. Set the effect to maximum, monochromatic (we don’t need color), and Gaussian distribution. Duplicate this layer (Ctrl+J) and turn off the copy.

Apply Filter → Blur → Gaussian Blur to the background layer and set it to 0.5 pixels. The goal is to blur the noise just slightly—barely noticeably.

Next, go to Edit → Adjustments → Levels (Ctrl+L) and adjust the first two sliders on the left (in our case, 200 and 0.64). The idea is to make the background completely black, while keeping a good amount of bright points. In other words, you want to recreate an average starry sky on a clear night.

Return to the second (copied) layer and turn it on. Blur it again with Gaussian Blur—this time with 2 pixels or enough to noticeably soften it. Then go back to Levels adjustment and tweak the same two sliders (we used 169 and 1.00) to make the background black and leave only the brightest dots. Of course, there won’t be many of them—just like in reality. Then blur them again slightly to reduce sharpness.


Next, switch to the Channels tab and select the bright spots on the copied layer. Use the icon at the bottom of the panel to load selection, then create a new layer. Make sure your default colors are black and white, and with the new layer active, press Ctrl+Delete. This will fill the selection (dots) with white on a new background—but you won’t notice it much due to their small size. Deselect and open Layer Style. Add Outer Glow, white, normal mode. Adjust the size and spread to your liking.


Merge the layers (Ctrl+E) and create a new black layer. Apply Filter → Render → Clouds and set the blend mode to Lighten. Add another layer between the clouds and stars, activate it, and use a large soft brush at 10% opacity. Start painting over the stars as you like. Change brush color to add new tones and strokes.


Now your sky with nebulas, stars, and clusters is ready. You can group the layers or merge them into a new layer (Ctrl+Shift+Alt+E), and move on to creating a planet. Or, you could add a spaceship, comet, or cloud flashes. That’s up to your imagination.
Find a texture for the planet’s surface—usually rocks or terrain. The size doesn’t matter. Open it in Photoshop, use the Elliptical Marquee Tool (hold Shift while dragging to make a perfect circle), and copy the selection to a new layer (Ctrl+J).


Now go to Filter → Distort → Spherize and set the distortion to 100%. Place the resulting image into your starry sky project. You’ll probably need to resize the planet or satellite.


Create a new layer, make it active, and Ctrl-click the planet layer to select it. Fill the selection with black and add a layer mask. Unlink the mask and slightly shift the filled layer downward. This creates a shadow cast from the light side of the planet.


Now, for each of the planet, shadow, and mask layers, apply blending effects: Outer Glow, Inner Glow, and Gaussian Blur. This ensures there are no sharp edges, only smooth gradients.


You can add a glare, overlay clouds or flares, and more. At this point, your space image is ready.


Conclusion
Did we spark your curiosity a little? Space-themed design has been a trendy concept in recent years, and it will likely stay that way for a while. From a web design perspective, it’s a solid and established concept that emphasizes lots of empty space, minimalism, and strong color contrast. It’s a great opportunity to use cinemagraphs, neon, parallax effects, calligraphy, photos, and video. In other words, space is one of those ideas that captivates visitors and helps grab attention—for both the site itself and the content within.